Bachelor Buttons: Blue Caps To Brighten Your Beds
Dive into the world of “Bachelor Buttons,” the charming blue caps that can transform your garden beds from mundane to magical. These sturdy, low-maintenance flowers spread their vibrant petals in the warm months, creating a dazzling display of blue that can surely make your garden the star of the neighborhood.
Whether you’re an experienced gardener or a novice, the Bachelor Buttons are a perfect choice to bring a splash of color and a touch of elegance to your green space.
Bachelor Buttons Overview
| Feature | Description |
|---|---|
| Common Name(s) | Bachelor Buttons, Cornflower, Bluebottle, Boutonniere flower |
| Scientific Name | Centaurea cyanus |
| Family | Asteraceae (Daisy family) |
| Height | 1-3 feet |
| Light | Full sun |
| Water | Moderate, drought-tolerant once established |
| Soil | Well-drained, can tolerate a wide range of soil types |
| Fertilizer | Light feeding with balanced, slow-release fertilizer at planting |
| Pests and Diseases | Generally pest-free, but can be susceptible to powdery mildew in humid conditions |
All About Bachelor Buttons

Also known as Cornflower, Bachelor Buttons (Centaurea cyanus) are annual flowering plants native to Europe. They exhibit a strikingly beautiful blue hue, though cultivars in shades of pink, white, and purple are also common. The name ‘Bachelor Buttons’ has an interesting origin related to its use by young men in love, who would wear the flower as a sign of their affection.
When it comes to cultivation, Bachelor Buttons are remarkably easy to grow. They prefer full sun but can tolerate partial shade, making them versatile for placement in your garden. These hardy plants are drought-tolerant and can thrive in a wide range of soil types, though they prefer well-draining soils.
The flowers bloom from early summer until fall, producing a continuous display of vibrant colors. The plants typically reach a height of 1 to 3 feet, with a similar spread, creating an impressive display especially when planted in groups.
Bachelor Buttons also attract beneficial insects and pollinators to your garden. Bees and butterflies are particularly drawn to these flowers, enhancing the biodiversity in your green space. Moreover, these flowers are edible with a slightly sweet to spicy, clove-like flavor, making them a charming addition to salads and desserts.
In terms of maintenance, Bachelor Buttons require very little. Deadheading spent flowers can encourage more blooms, but isn’t necessary. They are relatively pest-free and disease-resistant, making them an ideal choice for both beginner gardeners and those seeking a low-maintenance addition to their garden.
With their charming appearance and easy care, Bachelor Buttons are a delightful addition to any garden. Whether you’re creating a wildflower meadow or looking for a pop of color in your cottage garden, these flowers are sure to turn heads.
Detailed Guide: Varieties of Bachelor Buttons
In my Markdown guide, we’ve learned the basics of Bachelor Buttons, but there’s so much more to discover about these versatile flowers. Let’s take a closer look at some popular varieties that you can add to your garden:
Classic Blue Bachelor Buttons
The most traditional and well-recognized variety, these Bachelor Buttons exhibit a stunning sky-blue shade. Originating in Europe, they have a rich history, often linked to the ancient Greeks and medieval herbal medicine. Their appearance is characterized by a vibrant blue flower head with tightly clustered petals around a dark center. The scent is mild and fresh. This variety closely resembles other Bachelor Buttons in terms of shape and growth habits.
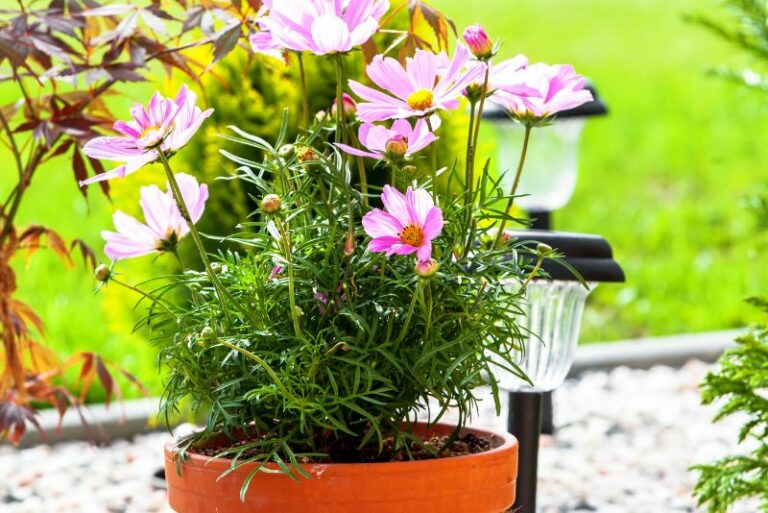
Pink Bachelor Buttons
Offering a soft contrast to the classic blue, the pink Bachelor Buttons are a delightful variety. Their origin dates back to the 17th century when botanical artists started illustrating pink versions of the plant. The petals range from pale blush to vibrant pink, surrounding a darker center. Many report a gentle, sweet aroma from these flowers. Their growth habits and maintenance requirements are similar to the classic blue variety.
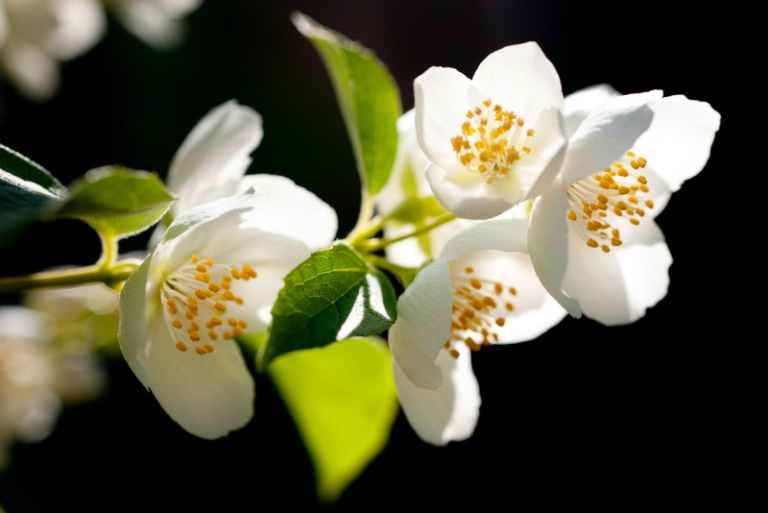
White Bachelor Buttons

The white Bachelor Buttons, also known as ‘Alba,’ are a symbol of purity and elegance. Their history is nebulous, with mentions in Victorian-era literature. They feature white petals with a yellow or green center, creating a serene and sophisticated look. They have a faint, delicate scent and share the same growth habits as their colored counterparts.
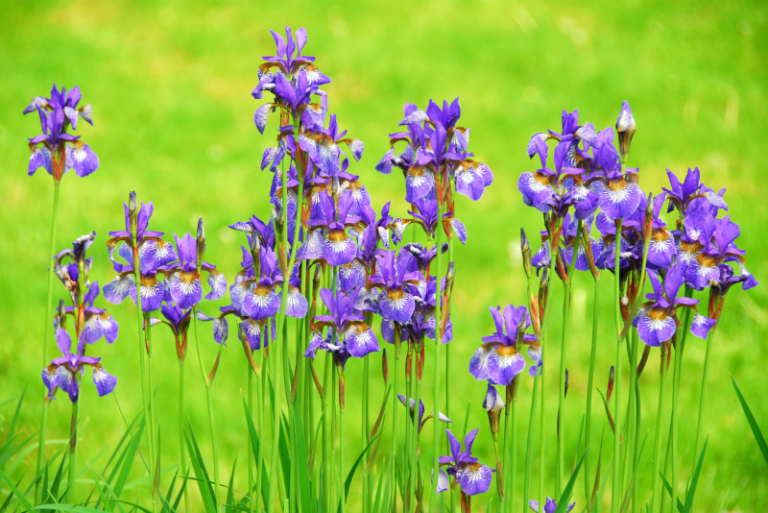
Purple Bachelor Buttons
This deep shade variant brings a touch of regality to any garden. They are a relatively recent addition, with breeders developing them in the 20th century. The flowers are a rich, royal purple, contrasting beautifully with their dark center. They have a subtle, slightly spicy scent and follow the traditional growing patterns of Bachelor Buttons.
Mixed Bachelor Buttons
A blend of all colors mentioned, the mixed Bachelor Buttons provide a vibrant and diverse color palette. The history of this type is more contemporary, with gardeners often opting to intersperse different color varieties for a more visually interesting landscape. The combined aroma is a blend of mild, sweet, and spicy, offering a sensory delight. The growth habits are in line with the other Bachelor Buttons varieties.
Remember, all Bachelor Buttons share similar characteristics in their requirements for sunlight, soil type, and maintenance, making them a versatile addition to any garden. Regardless of the variety you opt for, these charming blooms promise to add a dash of color and elegance to your green space.
Bachelor Buttons Care Procedures

My garden is incomplete without Bachelor Buttons. It’s a low-maintenance annual plant that keeps on giving. Here are some pointers to help you keep your Bachelor Buttons looking healthy and blooming all season long:
Light and Temperature Requirements for Bachelor Buttons
Bachelor Buttons are sun-loving plants and thrive in areas receiving full sunlight. Exposure to at least six hours of direct sunlight each day is ideal for their growth and bloom. While they can tolerate partial shade, too much shade can lead to leggy growth and fewer flowers.
When it comes to temperature, Bachelor Buttons are quite adaptable. They can handle a wide range of temperatures, making them a suitable choice for a variety of climates. These resilient plants are cold-tolerant and can withstand frost, allowing you to sow their seeds early in the season. In terms of heat, they can persevere through the warm summer months, although they might wilt in extreme heat conditions.
Remember, regardless of where you live, providing ample sunlight is key for their vibrant blooms. So, ensure that your Bachelor Buttons are planted in a location where they can bask in the sun. If you’re growing them indoors or in a greenhouse, a sunny windowsill or a spot under a grow light would work well.
In conclusion, proper light and suitable temperature conditions are crucial to the health and beauty of Bachelor Buttons. Adhering to these care procedures will ensure a healthy growth of these striking flowers in your garden, rewarding you with their enchanting beauty throughout the season.
Water and Humidity Requirements for Bachelor Buttons
Bachelor Buttons are highly drought-tolerant plants, which means they do not need to be watered frequently. In fact, overwatering can lead to root rot, a common issue that can severely damage these plants. Consequently, it is advisable to water them only when the top few inches of soil are dry. In general, deep and infrequent watering is preferable to frequent, shallow watering. This method encourages the plant’s roots to grow downward, seeking moisture, which in turn supports strong, healthy plant growth.
Humidity generally doesn’t pose a major issue for Bachelor Buttons. They are robust plants that can withstand a range of humidity levels, although they fare best in moderate humidity. In areas with high humidity, it’s crucial to ensure good air circulation around the plants to prevent the onset of fungal diseases.
Moreover, if you are growing Bachelor Buttons in containers, proper drainage is crucial. Make sure your pots have sufficient drainage holes to allow excess water to escape. This can prevent waterlogged soil, which can be detrimental to the health of the plant.
Therefore, while Bachelor Buttons are low-maintenance plants, appropriate watering and humidity management are keys to their successful cultivation. With proper care, these vibrant flowers can brighten your garden with their colorful display throughout the season.
Soil and pH Requirements for Bachelor Buttons
Bachelor Buttons are quite adaptable and can grow in a variety of soil types. However, they particularly thrive in well-drained soil. Whether you have sandy, loamy, or clay soil, adding organic matter can greatly improve its structure and fertility, ultimately enhancing the growth and blooming of your Bachelor Buttons.
Sandy Soil
Sandy soil drains well, which is beneficial for these drought-tolerant plants. To increase the soil’s capacity to hold nutrients and water, mix in some compost or well-rotted manure.
Loamy Soil
Loamy soil is an ideal growing medium for most plants, including Bachelor Buttons. It is rich in nutrients, drains well, yet retains sufficient moisture. If your garden has loamy soil, simply ensure it is free of weeds and large clumps before planting.
Clay Soil
While clay soil is nutrient-rich, its heavy, compact nature can impede the growth of Bachelor Buttons. To improve its texture, incorporate organic matter, and consider adding coarse sand or gypsum to enhance drainage.
Soil pH
Bachelor Buttons prefer neutral to slightly alkaline soil, with a pH range of 6.6 to 7.5. You can use a soil test kit to check the pH level of your soil. If it’s too acidic, you can raise the pH by adding lime. If it’s too alkaline, adding sulfur or peat moss can lower the pH.
Preparing the Soil for Planting
Before planting Bachelor Buttons, prepare the soil by removing any weeds and large stones, then rake it to a fine tilth. If your soil is heavy or poor, enrich it with well-rotted compost or manure. This not only improves soil structure but also provides essential nutrients for your plants.
Once your soil is prepared, you can sow Bachelor Buttons seeds directly into the ground. These plants are not fussy about their location and will thrive in full sun, as long as they have well-drained soil and regular watering.
In conclusion, understanding the soil and pH requirements of Bachelor Buttons and investing time in soil preparation can greatly enhance the growth and flowering of these delightful plants. With a little effort in setting the right foundation, your Bachelor Buttons will reward you with a colorful and lively display in your garden.
Fertilizer Care for Bachelor Buttons
Bachelor Buttons, known for their hardiness and adaptability, do not require a great deal of additional nutrients through fertilization. However, feeding them with a balanced, slow-release fertilizer can give a boost to their growth and flowering.
Choosing the Right Fertilizer
A general-purpose garden fertilizer, with a balanced ratio of nitrogen, phosphorus, and potassium (NPK), such as a 10-10-10 or 14-14-14, works well for Bachelor Buttons. Nitrogen promotes leafy growth, phosphorus supports root development and flowering, and potassium enhances overall plant health.
Fertilizer Application
You should fertilize Bachelor Buttons at the beginning of the growing season, or when you’re preparing the soil before planting. Mix the fertilizer into the top few inches of soil, ensuring it’s well incorporated. For potted plants, follow the instructions on your fertilizer package for the correct dosage.
Follow-up Fertilizing
Although Bachelor Buttons are not heavy feeders, a follow-up fertilizing midway through the growing season can be beneficial, particularly if the plants appear lackluster or the flowering has been sparse. Remember to water the plants well after applying fertilizer to help it soak into the soil and reach the roots of the plant.
Organic Fertilizing Options
If you prefer organic fertilizing, compost or well-rotted manure are excellent options. These organic materials improve soil texture, enhance its water-holding capacity, and provide a slow-release source of nutrients. Additionally, compost and manure attract beneficial soil organisms which further enrich the soil fertility.
In conclusion, while Bachelor Buttons don’t require extensive fertilizing, a balanced feeding schedule can support healthier, more robust plants. Whether you opt for synthetic fertilizers or organic amendments, remember that the goal is to complement the natural fertility of your soil without overriding it. With proper fertilizer care, your Bachelor Buttons will continue to provide a beautiful burst of color in your garden.
Repotting Care for Bachelor Buttons
While Bachelor Buttons are often grown directly in the garden soil, they can also thrive in pots, making them suitable for balconies, patios, or indoor gardens. However, like all potted plants, they may require repotting from time to time to accommodate their growth and maintain their health. Here is a step-by-step guide to help you through the repotting process.
Choosing the Right Time
The best time to repot Bachelor Buttons is in the late winter or early spring before the new growth season begins. This allows the plant to quickly establish itself in its new container.
Selecting a Suitable Pot
Choose a pot that is one size larger than the current one. Make sure it has adequate drainage holes to prevent waterlogging. A terracotta or ceramic pot is a good choice as they provide excellent airflow to the roots.
Preparation
Before repotting, water the Bachelor Buttons lightly to make the process easier and less stressful for the plant. Prepare the new pot by placing a layer of small stones or gravel at the bottom for extra drainage, followed by a layer of fresh, well-drained potting soil.
Repotting
Carefully remove the Bachelor Buttons from the current pot, ensuring minimal damage to the roots. Place the plant in the new pot, and fill the surrounding area with more potting soil, firming it gently around the root ball. The soil level should be the same as it was in the previous pot.
Aftercare
Water the plant thoroughly after repotting to help the soil settle. Keep the plant in a shaded place for a few days before moving it back to its usual spot. This will allow it to recover from any repotting stress.
In conclusion, while Bachelor Buttons are hardy and adaptable, they can benefit from repotting when the conditions get too cramped in their current pot. By following this guide, you can ensure a successful repotting process, allowing your Bachelor Buttons to continue growing and flowering beautifully.
Propagation of Bachelor Buttons
Propagation is an excellent way to multiply your Bachelor Buttons plants and enjoy more of their vivid, cheerful blooms. One of the easiest plants to propagate, Bachelor Buttons can be propagated by both seeds and division. Here’s a step-by-step guide to aid you in each method.
Propagation by Seeds
- Collecting Seeds: After the Bachelor Buttons flowers have bloomed and faded, they will leave behind seed heads. Allow these to dry on the plant, then collect them by removing the entire dry, brown head and breaking it open to reveal the seeds.
- Preparing for Sowing: Prepare a seed tray or small pots filled with a mixture of equal parts peat moss and perlite. This well-draining medium is ideal for seed germination.
- Sowing the Seeds: Scatter the Bachelor Buttons seeds over the surface of your soil mix. Press them lightly into the soil, but do not cover them, as they require light to germinate.
- Maintaining the Seeds: Keep the seed tray in a warm, sunny spot and maintain consistent moisture in the growing medium. You should see seedlings emerge in approximately 7-14 days.
- Transplanting Seedlings: Once the seedlings have developed their second set of true leaves, they can be transplanted into their final growing location.
Propagation by Division
- Choosing the Right Time: The best time for dividing Bachelor Buttons is in the early spring before new growth begins, or in the early autumn once flowering has finished.
- Preparing for Division: Water the plant generously a day before you plan to divide it. This will make the division process easier and less stressful for the plant.
- Dividing the Plant: Using a sharp, clean spade, carefully dig up the plant, ensuring a generous root ball. Gently separate the plant into two or more sections, each with an equal amount of roots and shoots.
- Replanting Divisions: Immediately plant the new divisions in a prepared location or pot with well-drained soil. Ensure they’re planted at the same depth as they were growing previously.
- Aftercare: Water the newly planted divisions thoroughly and keep them well-watered until they are established.
Whether you choose to propagate by seeds or division, both methods can result in flourishing Bachelor Buttons plants. Whichever route you take, remember to provide your new plants with the right care and conditions to ensure they grow and flower well.
Pruning Care for Bachelor Buttons
Pruning is a vital part of plant maintenance that helps promote healthier plant growth and vibrant flowering. For Bachelor Buttons, pruning is fairly straightforward and can significantly enhance their aesthetic appeal. Follow this guide for detailed steps on how to prune your Bachelor Buttons effectively.
Understanding When to Prune
The ideal time to prune Bachelor Buttons is generally in the late winter or early spring. Aim to prune just before new growth starts so that the plant is not in active development when it’s being cut back.
Choosing the Right Tools
For pruning Bachelor Buttons, it’s best to use a pair of sharp, clean pruning shears or scissors. Make sure your tools are properly disinfected to prevent the spread of disease.
Pruning Procedure
Start pruning by removing all dead or dying foliage from the plant. Look for any brown, wilted, or damaged leaves and cut them back to the base of the stem. Next, trim back about a third of the plant’s height to encourage bushier growth. Always make your cuts at a 45-degree angle just above a leaf node or a budding stem.
Deadheading
Deadheading involves removing spent blooms to encourage the plant to produce more flowers. Once a Bachelor Button flower fades, use your fingers or shears to gently remove it. This prevents the plant from using energy to produce seeds.
Post-Pruning Care
After pruning, give your Bachelor Buttons a thorough watering and apply a balanced fertilizer to support growth. Monitor the plant for any signs of stress or disease.
In conclusion, pruning your Bachelor Buttons can help maintain their healthy and luxurious growth. The process is simple and can be done by even novice gardeners. With the right care, your Bachelor Buttons will continue to produce their delightful blooms, adding color and charm to any garden.
Bachelor Buttons Troubleshooting Guide
Maintaining the overall health of Bachelor Buttons can sometimes be tricky, especially when unexpected problems arise. Whether it’s growing issues, pests, or diseases, each comes with its own set of challenges. This comprehensive troubleshooting guide should help you identify and address common problems that you may encounter when growing Bachelor Buttons.
Growing Problems
Bachelor Buttons are generally easy to grow, but they can still experience a few growing issues.
- Poor Germination: If your seeds are not germinating, it could be due to improper sowing. Remember that Bachelor Buttons seeds need light to germinate, so they should not be covered with soil. Also, ensure the seeds are fresh for better germination rates.
- Leggy Growth: This often occurs when the plant is not receiving enough sunlight. Make sure your Bachelor Buttons are planted in a location that receives full sun.
- Yellowing Leaves: Overwatering or poor drainage can cause the leaves to yellow. Ensure that the soil is well-draining to prevent waterlogging.
Pests
Certain pests can also be attracted to Bachelor Buttons:
- Aphids: These tiny insects suck sap from the plants, causing distorted growth and yellowing leaves. Control them by using insecticidal soap or by attracting natural predators like ladybugs.
- Leaf Miners: The larvae of these insects burrow into the leaves, causing white trails. Remove affected leaves and use a suitable insecticide if infestation is severe.
Diseases
Bachelor Buttons can also be affected by a few diseases:
- Powdery Mildew: This fungal disease causes a white powdery substance on the leaves and stems. Ensure good air circulation around the plants and treat with a fungicide if necessary.
- Root Rot: Overwatering or poor drainage can lead to root rot, characterized by wilting, yellowing leaves, and stunted growth. To prevent this, ensure the soil is well-draining and avoid overwatering.
Remember that prevention is the best way to keep your Bachelor Buttons healthy. Regular monitoring, proper watering, and the right growing conditions can prevent many of these issues from developing.
Frequently Asked Questions About Bachelor Buttons
Q1: Can Bachelor Buttons grow in partial shade?
A: While Bachelor Buttons prefer full sun, they can tolerate partial shade. However, too much shade can result in leggy growth and fewer blooms.
Q2: Are Bachelor Buttons perennials or annuals?
A: Bachelor Buttons are usually grown as annuals, but they can behave as perennials in zones 3-7. They often self-seed and may come back the following year.
Q3: What is the best soil type for Bachelor Buttons?
A: Bachelor Buttons prefer well-draining soil. They can tolerate a variety of soil types, including clay, sand, and loamy soils, but they don’t do well in waterlogged conditions.
Q4: How often should I water my Bachelor Buttons?
A: Water your Bachelor Buttons regularly, but make sure not to overwater. The top inch of soil should be allowed to dry out between waterings.
Q5: Can I grow Bachelor Buttons indoors?
A: Yes, you can grow Bachelor Buttons indoors, as long as they receive enough light. A sunny windowsill would be an ideal location.