Planting Spring-Flowering Bulbs: A Gardener’s Guide
There are few promises as reassuring as the emergence of dainty blooms pushing through the thawing earth, heralding the arrival of spring. If you want your garden to sparkle with these vibrant signs of hope and renewal, now is the time to start – by planting bulbs.
Whether you’re a seasoned green thumb or just nurturing the seed of gardening interest, this comprehensive guide will help you turn your garden into a springtime oasis.
Selecting the Right Bulbs
Before you can enjoy the riot of color that spring bulbs offer, you must select the best ones for your garden.
Understanding Bulb Types
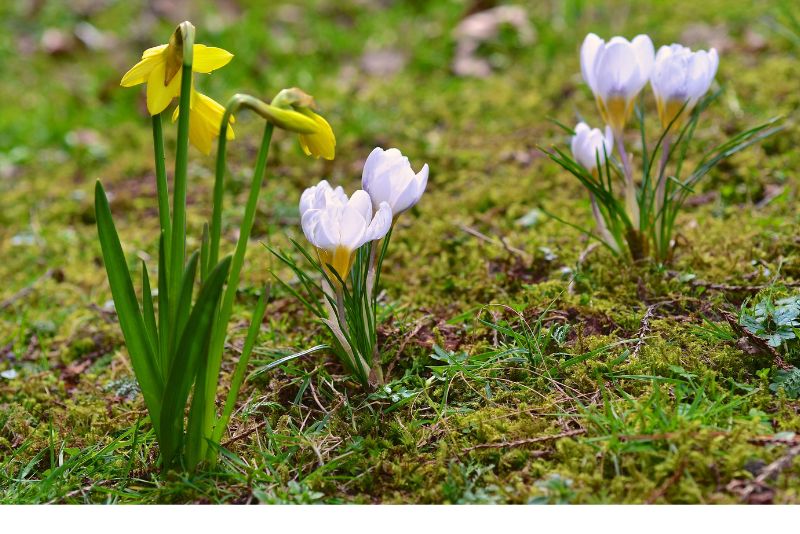
Not all bulbs are the same, and understanding the differences is vital. Tulips and daffodils are classic faves that can be planted in fall for spring blooms. Crocus and hyacinth are also fall-planted options, giving gardens a patchwork of hues come spring. Snowdrops and lilies prefer established roots and are best planted in the spring.
Timing is Everything
Consider the flowering time of your chosen bulbs. Early spring bloomers, like snowdrops, witch hazel, and winter aconites, can offer color when everything else is still grey. Mid-spring brings forth triumphs like tulips and alliums. Late-spring favorites include irises and peonies, extending the floral feast.
Planting Conditions
While some bulbs, like tulips, relish in dappled shade, most prefer full sun for at least half of the day. Ensure your selected site meets the light requirements of the bulbs. Soil pH and drainage are also crucial – bulbs generally prefer well-draining soil with a slightly acidic pH.
Preparing the Planting Site
The key to a successful bulb display is preparing the site to mimic their native habitats.
Aerate and Fertilize the Soil
Loosen the soil to a depth of at least 12 inches to promote stronger root systems. It’s also wise to add organic matter, such as compost or peat moss, to improve soil structure and fertility, which will benefit the bulbs during their growth.
Assess the Sunlight
When choosing the spot to plant your bulbs, consider the angle of sunlight as it changes throughout the day and the year. Bulbs typically require full sunlight to partial shade to grow their best.
Ensure Proper Drainage
Bulbs detest overly wet feet. If your soil retains too much moisture, you might need to create a raised bed or amend the soil with perlite or sand to improve drainage.
Planting Techniques
Your meticulous preparation will be in vain if your planting techniques are not in tune with the needs of the bulbs.
The Right Depth and Spacing
A good rule of thumb is to plant bulbs at a depth twice their size. Daffodils and tulips usually require 6 to 8 inches of soil above them, while smaller ones like crocus need only 3 to 4 inches. Ensure they’re spaced apart at a distance equal to at least three times their width to prevent overcrowding.
Protecting Against Pests
You may want to consider adding bonemeal into the hole to deter pests, like voles and moles, which are known to nibble on bulbs. Some gardeners also swear by sprinkling crushed eggshells or using sharp gravel at the bottom of the planting hole.
Getting the Depth Right
Plant the bulbs with the pointed end up and the root end down. A bulb planter or a trowel can make this process faster and more uniform. If planting multiple bulbs, consider using a bulb tray for easy spacing.
While planting, never push or force the bulbs into the ground, as this can cause them to grow sideways, resulting in less robust plants.
Caring for Flower Bulbs
Bulbs are generally low-maintenance, but a little care ensures a spectacular show in spring.
Watering Wisely
After planting, give the bulbs a good soak to settle the soil around them. During the growing season, consistency is key: too much water can lead to rot, while too little can produce stunted growth and fewer blooms.
Fertilization Schedule
Fertilize your bulbs twice a year – once in the fall at planting time with a phosphorus-rich fertilizer to encourage root development, and again in the spring when shoots emerge with a balanced, slow-release fertilizer.
Mulching for Moisture Retention
Mulch over the planting area after the ground has frozen to help retain moisture and protect bulbs from temperature fluctuations. Mulch also suppresses weeds, which can compete with bulbs for nutrients and water.
Extending Bloom Time
One of the joys of bulb planting is orchestrating a symphony of colors that lasts for weeks.
Succession Planting
By planting a mix of early, mid, and late bloomers, you can start the display early and extend it deep into spring. This requires some planning ahead, but the pay-off in extended bloom time is well worth the effort.
Layering Bulbs
Mixing bulbs of different bloom times in the same area but at different depths can create a multi-layered display. Deepest are the tulips, then daffodils, and finally crocuses on the top for a pop of color.
Forced Bulbs Indoors
Forced bulbs can provide early blooms that can’t be achieved outdoors due to weather. Plant bulbs in containers and place them in a cool, dark area for several weeks. Then, bring them to warmth and light, and enjoy blooms ahead of the outdoor schedule.
Post-Planting Maintenance
Your actions after planting can determine the success of your blooms.
Removing Spent Blooms and Stems
Clip stems and deadhead spent blooms to prevent the plant from focusing on seed production, thus encouraging the formation of next year’s flower inside the bulb.
Allowing Foliage to Wilt Naturally
It’s tempting to tidy up the garden by removing the dead foliage, but this greenery is essential for next year’s growth. Simply wait for the leaves to yellow and wither before removing them.
Storing Bulbs for Next Season
If you’re aching to move bulbs for next season or share with friends, remember to store them properly. Clean the soil off, place in a cool, dry place, and ensure good air circulation.
Gardening Tips for Success
To ensure your hard work doesn’t go to waste, follow these additional tips for a successful spring bulb display.
Protecting from Extreme Temperatures
If you experience a particularly harsh winter, you can protect your bulbs by covering them with dry leaves or straw until the extreme cold passes. Ensure you remove the coverings once temps stabilize in the spring.
Replenishing the Soil
Over time the soil nutrients are used by the growing bulbs. After a few years, the flower quality and quantity may decrease unless the soil is enriched with compost or fertilizer.
Dealing with Common Issues
If you spot fungal diseases, such as botrytis or bulb rot, take action swiftly to quarantine affected plants and treat with a fungicide. Be vigilant for signs of infestations and deal with them promptly to prevent them from spreading.
Conclusion
There’s an undeniable magic in the sweetness of spring bulbs – tucking a promise of color and warmth beneath the cool, damp soil of early fall. With a little forethought, planning, and care, you can orchestrate a breathtaking bloom that celebrates the arrival of spring in your own backyard. Don’t miss out on the opportunity to fill your garden with these enduring symbols of the season – start planting and watch your efforts yield a tapestry of delightful hues.