Planting Asters for Long-term Success: A Gardener’s Guide
Asters, with their daisy-like shape and a rainbow of colors, are a favorite among gardeners for their ability to add a vivid touch to late-season landscapes. Planting them isn’t just about digging a hole and dropping them in; to ensure they bloom and thrive for years, you need to be strategic from the start. In this extensive guide, we’ll walk you through the process of planting asters to secure their longevity, discussing crucial aspects such as location selection, proper planting techniques, ongoing care, and seasonal maintenance.
Introduction: Setting the Scene for Sustainable Growth
The common phrase “A place for everything, everything in its place” couldn’t be more accurate for the delicate act of planting. For asters, this is the foundation that will determine their success over time. Good planting habits not only help ensure immediate survival but also lay the groundwork for a robust, vibrant, and long-lasting plant life. Casual gardeners often overlook the finer details, but those who want to create an outdoor masterpiece cherish these essential steps.
Choosing the Right Location: Where the Sun Sustains
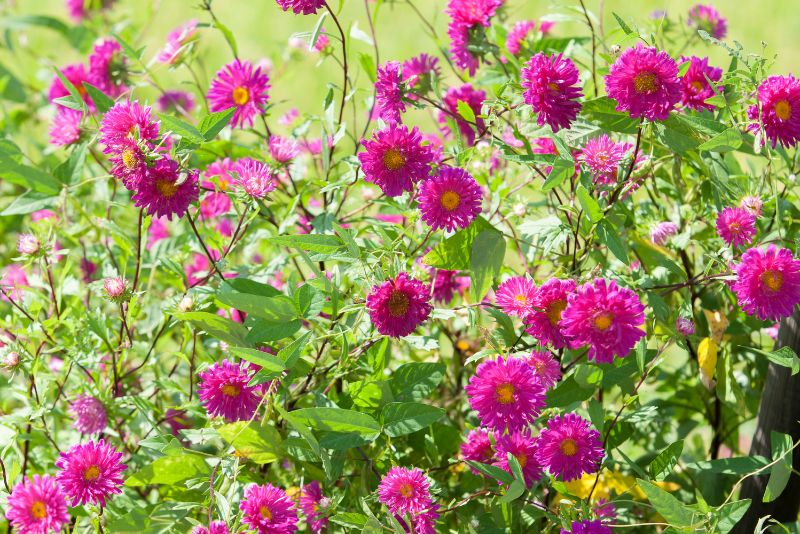
The first and arguably most important step is choosing where to plant your asters. These flowers crave sunlight, so a location that receives at least 6 hours of direct sun is essential. Also, pay attention to the soil; it should be well-drained to prevent waterlogging, a common cause of aster decline.
Maximizing Sunlight and Optimizing Soil
Asterales are particularly sensitive to the quality of the light they receive. Take a note at different times of the day to understand how sunlight patterns shift across your garden. As for soil, check for compaction, which obstructs root growth. Sandy loam is often a favored medium for asters, but any soil can be amended to suit their needs.
Pay Attention to Spacing
Remember, good neighbors give plants room to grow. Asters, when mature, will appreciate some airflow around their foliage to help prevent disease. Spacing recommendations vary based on the species and expected height, but a general rule is about 18 to 24 inches apart.
Planting Techniques: The Right Start
The process of actually planting an aster is where art meets horticulture. Down to earth, it’s a simple affair – but there are subtleties that can significantly affect the outcome.
Dig Deep, but Not Too Deep
The goal is to plant at the same depth as the aster was in its nursery pot, just enough to cover the root ball. However, the planting hole should be dug wider than the root system to encourage outward growth.
Proper Watering: Nurturing the New
Water asters deeply right after planting to help the roots settle. Simulate a gentle rain shower rather than a direct blast to avoid displacement of the soil around the root ball.
Mulching: Nature’s Blanket
Mulch around the base of your newly planted asters helps retain moisture, discourage weed growth, and protect the soil from direct rain that can compact and crust it over time.
Caring for Asters: Ingredients for Life and Longevity
With asters, as with any plant, the care you provide is a direct reflection of what they can give back. Here’s how to maximize their potential.
Fertilizing: Food for the Future
In the spring, a slow-release, balanced fertilizer can be beneficial. However, be wary of over-fertilizing, which can lead to leggy growth and fewer blooms.
Pruning: Shaping for Success
Pinching back asters in the early growing season can encourage bushier growth. Deadhead spent flowers in the fall to prevent self-seeding and manage the plant’s energy.
Defending Against Disease and Pests
Aster yellows, a bacterial disease, can affect your plants. Inspect for leaf discoloration and stunted growth. Insect pests such as aphids are attracted to asters; control them with insecticidal soap if necessary.
Seasonal Maintenance: The Gardener’s Ongoing Choreography
Each season offers a dance of maintenance steps to keep your asters healthy and beautiful.
Winter: Hibernation Preparations
After the first frost, cut back asters to 6 inches above soil level and add a mulch layer for winter protection.
Spring: The Garden Awakens
As the soil warms, remove any winter mulch. New green growth signals that it’s time for a little spring cleaning – trim away the dead material to make way for this season’s beauty.
Summer and Fall: The Glory Months
Water your asters during dry spells, but remember they don’t like to sit in soggy soil. Pruning in early summer can lead to sturdier plants that are less likely to flop over once they burst into bloom in the fall.
Conclusion: The Ripple of Planting
The effort you put into planting your asters has a long-reaching effect on their life, health, and contribution to your garden’s aesthetic. By ticking the right boxes from initial location decisions to ongoing seasonal care, you’re setting the stage for a beautiful relationship with these colorful companions. Remember, every step matters, and the more involved you are now, the more rewarding the blossoms will be. Happy gardening, and may your asters bloom with the joy of life well-cultivated.